ARPHA Writing Tool
The ARPHA Writing Tool
This Section presents the ARPHA Writing Tool. The tool offers an one-stop entry and unified interface for publishing and sharing your work with the scientific community. It main added value is that it reduces manuscript turnaround times while at the same time it offers a) monitoring tools at all stages of the publishing process, b) data security and GDPR compliance and c) optimised cost/quality ratio.
Researchers can use tool as an extended and collaborative authoring environment, where they can discuss and edit manuscripts before submitting them to a journal. For example, biodiversity researchers may easily import Darwin Core-compliant species occurrence data through web services or publish their biodiversity dataset (e.g. species occurrence dataset uploaded to GBIF) as a formal scientific publication. To do this, they will simply create a Data paper manuscript in the tool, upload their data directly from GBIF and then add their narrative, in order to provide further context. Apart from the direct import, authors will also benefit from a list of predefined sections available in the data paper template and semantic enrichments, which will allow for each mentioned taxon to be mapped and linked to relevant databases.
Here is a general step-by-step guide for using ARPHA for various roles, such as an author, reviewer, or editor. Keep in mind that the specific steps may vary slightly depending on the journal using ARPHA and its customization. Here's a general overview:
As an Author:
Select a Journal: First, choose the academic journal you want to submit your manuscript to. Ensure that it is hosted on the ARPHA platform.
Register or Log In: If you're a new user, you'll need to register for an account on the journal's submission system. If you're an existing user, log in using your credentials.
Prepare Your Manuscript: Follow the journal's specific guidelines for manuscript preparation, including formatting, referencing style, and any specific requirements. Prepare your manuscript and any supplementary materials.
Submission: Once you're logged in, you'll find an option to submit your manuscript. Follow the submission process, which typically involves providing details about your manuscript, uploading files, and filling out submission forms.
Peer Review: If your manuscript passes an initial check, it will be sent for peer review. You may need to respond to reviewer comments and make revisions as required.
Publication: Once your manuscript is accepted, it will go through the final editing and proofreading process. After this, it will be published and made available to the public.
As a Reviewer:
Invitation: You'll receive an email invitation from the journal's editorial office to review a manuscript. This email will contain a link to the submission system.
Log In: If you're not already registered with the journal's submission system, you may need to create an account. If you have an account, log in.
Review: Access the manuscript and review materials provided by the journal. Write your review, addressing various aspects of the manuscript such as its quality, methodology, clarity, and originality.
Submit Review: Submit your review through the online system, typically by answering a set of questions and providing comments. This feedback will be sent to the editorial office.
As an Editor:
Access Editorial Dashboard: Editors typically have access to a dashboard where they can manage the journal's submissions, reviewers, and published content.
Manuscript Handling: Review submitted manuscripts and assign them to appropriate reviewers. Editors can communicate with authors and reviewers through the system.
Decision Making: Based on reviewer feedback, you'll make decisions regarding manuscript acceptance, revision, or rejection. You can communicate these decisions to authors through the system.
Publication: Once a manuscript is accepted, oversee the final editing and proofreading process. Then, approve the publication of the manuscript.
Please note that these are general steps, and the specific procedures may differ between different journals hosted on the ARPHA platform. It's essential to refer to the guidelines and instructions provided by the journal you are submitting to or working with, as they may have their own customized workflows and requirements.
Authoring and submission of manuscripts in the ARPHA Writing Tool is possible through the online submission module. In order to create a manuscript in ARPHA, authors are required to register or to login.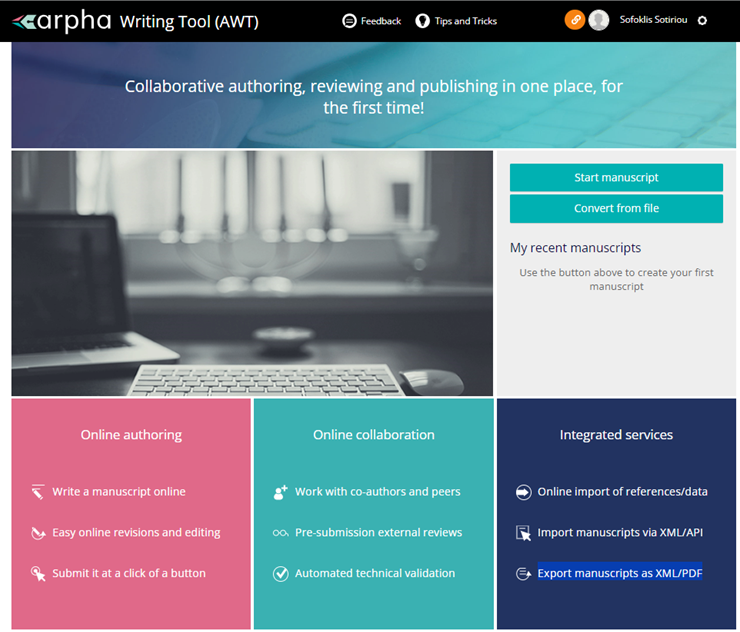
Once logged in, click on the "Start a manuscript" tab on the right side of the screen.
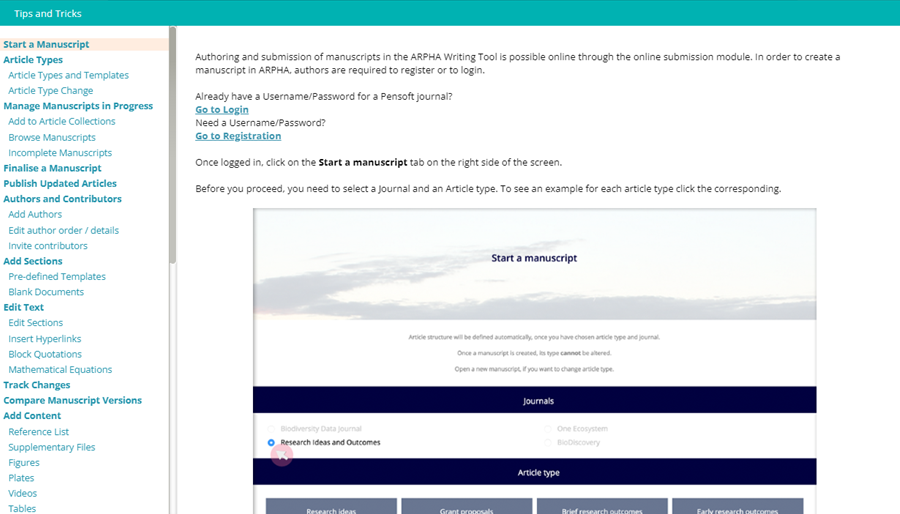
Before you proceed, you need to select a Journal and an Article type. To see an example for each article type click the corresponding box.

Please note that once you choose your article type, you can not change it.
A set of Web-based services offered by the tool allows, e.g. for search and import of literature or data references, cross-referencing of in-text citations, import of tables, upload of images and multimedia, assembling images for display as reusable composite figures, and even add videos to your article.

All the user/author needs to do to add content to an article is to select the right type from the side menu and then navigate through the instructions in the pop-up window. If in doubt, the authors can also consult the ‘Tips and Tricks’ on the tool website (https://arpha.pensoft.net/).
Import a data paper from Ecological Metadata Language
You can also import a data paper from Ecological Metadata Language (EML) file (e.g. generated from GBIF IPT, DataONE and LTER), or any other manuscript via our API. Then, you will be able to continue working on it in the ARPHA Writing Tool.
Follow the links below to get step by step guidance on
‘How to import a data manuscript from GBIF IPT?‘,
‘How to import a data manuscript from DataONE?‘,
‘How to import a data manuscript from LTER?‘
Import References
Follow the links below to get step by step guidance on importing references in the following formats:
Zotero
Endnote
Reference Manager
Import Occurrence Records
Follow the links below to get step by step guidance on importing occurrence records:
From Excel Spreadsheet
Manually
From GBIF
From BOLD
From iDigBio
From Pluto